
I recently purchased a new Windows 7 Ultimate PC and an iMac. This being my first Apple computer that I’ve ever owned I was really worried that I would not be able to have them talk to each other on the same network.
I was pleasantly surprised that with some setup on the Windows 7 PC and a couple of commands on the iMac the sharing of files was a breeze.
Step 1: Make sure you have a work group defined for your home network on the Windows 7 PC.
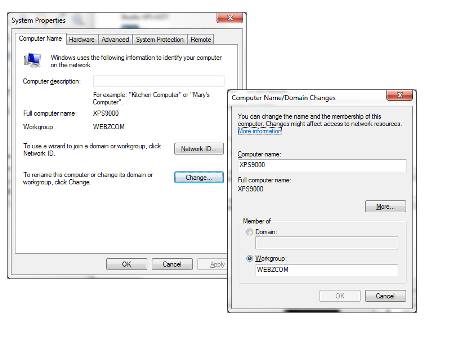
- To do this right click over Computer or My Computer
- At the bottom of the System Properties window under Computer name, domain, and workgroup settings select “Change Settings”
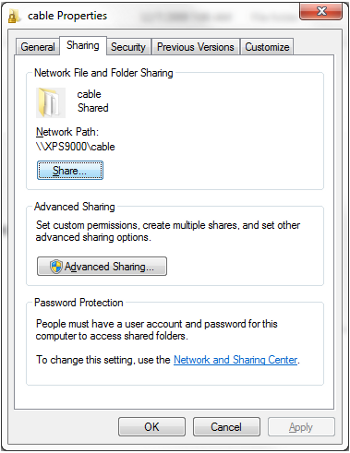
Step 2: Setup file sharing on your Windows 7 PC.
If you need more help setting up Windows 7 file sharing check out this article from the How to Geek.
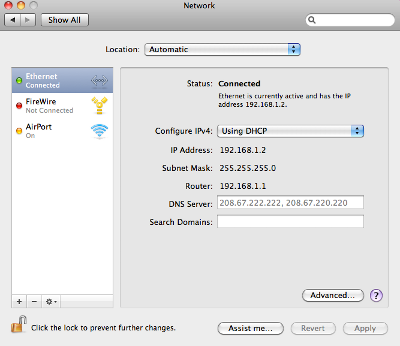
Step 3: Setup the share on your iMac. Use Command K then enter “smb:\\workgroup\pc_name”
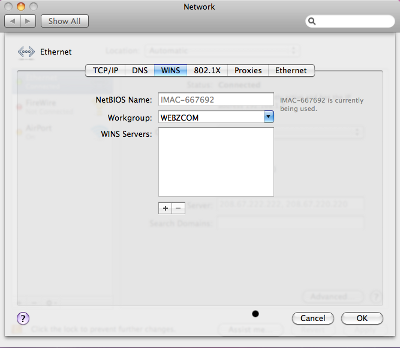
Step 4: On the Network window make sure you have the same workgroup name entered here so that it matches your Windows 7 PC network workgroup.
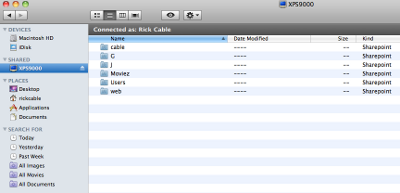
Now when you open Finder on you Mac you will see your computer on left navigation bar listed under “Shared”.
You can also find some of this information on Apple’s support site.
